[Image optimization tips for bloggers – Digital Marketing – Part 14] Blogs have evolved from text pieces to actual products. They are not mere text amalgamation. They carry:
- Meaningful message
- Links
- Backlinks
- Ad spaces
- Forms
- Downloadable items
… and much more.
Apart from the textual content, blogs also contain graphic elements and images are one of commonly used items. While some blogs can easily go by with just one feature image, other blogs which fall under categories like travel or food are highly dependent on multiple images.
Irrespective of the blog/content niche, images are important as they contribute to keeping the reader engaged and help in SEO.
The key point here is to understand that all the text, images, videos, JavaScript, and every other element used in a page or blog post contributes to its overall size. The bigger the page size, the longer it takes to load, and hence the faster you drive away your audience.
Google in its mobile-page-speed-new-industry-benchmarks document – page 3 paints a clear picture of drop rates against page-loading with the fact that it takes 7 seconds to load a 1.49 (~1.5 MB) over a fast 3G connection.
Image optimization tips hence become necessary for bloggers as this activity is under control when other necessary marketing integrations cannot be excluded from page.
There are many ways you can adopt to optimize images, we shall look at two of them, but before that, here are a few things you need to know about using images on a digital platform.
- The terms like PPI and DPI play no role on image size in KBs or MBs. The size of the image is determined by the number of pixels it has which is determined by its resolution. E.g. An image of resolution (600 by 300) (width by height) has 600*300 = 180000 pixels which makes the size of the image of certain bytes. PPI or DPI contributes nothing onto the quality of an image which is to be used online. This YouTube video explains it well.
- PNG files are larger compared to compressed JPEGs. The choice of which format is to be used is best left on the context of where a particular image is to be used. As a rule, JPEGs do a decent job for most platforms. Any platform that wants PNG will often ask you specifically.
Now, let us look at the techniques of image optimizations:
Using WordPress Plugins
For a WordPress user, ShortPixel has a plugin of name – ShortPixel Image Optimizer which optimizes all your images from media library in a click.
Once installed and activated, you would see a button – “Autoptimize” on the navigation bar. You will also find ShortPixel and Autoptimize under “Settings” section of your WordPress dashboard.
ShortPixel is free for sites that use 100 images per month basis. This may exhaust quick for first time users post which a small fee can keep you sorted for future image posts for a decent amount of time.
![]()
GIMP and other tools
GIMP is a free tool which can be used both for image manipulation and image creation. It is the best alternative for bloggers and small-scale businesses which cannot invest in licenced software for photo manipulation or creation.


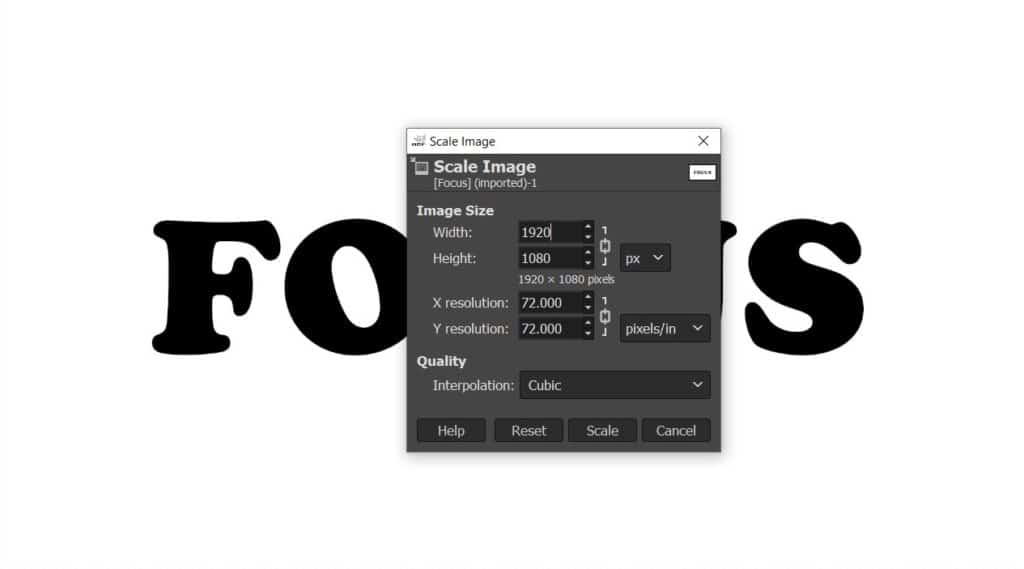
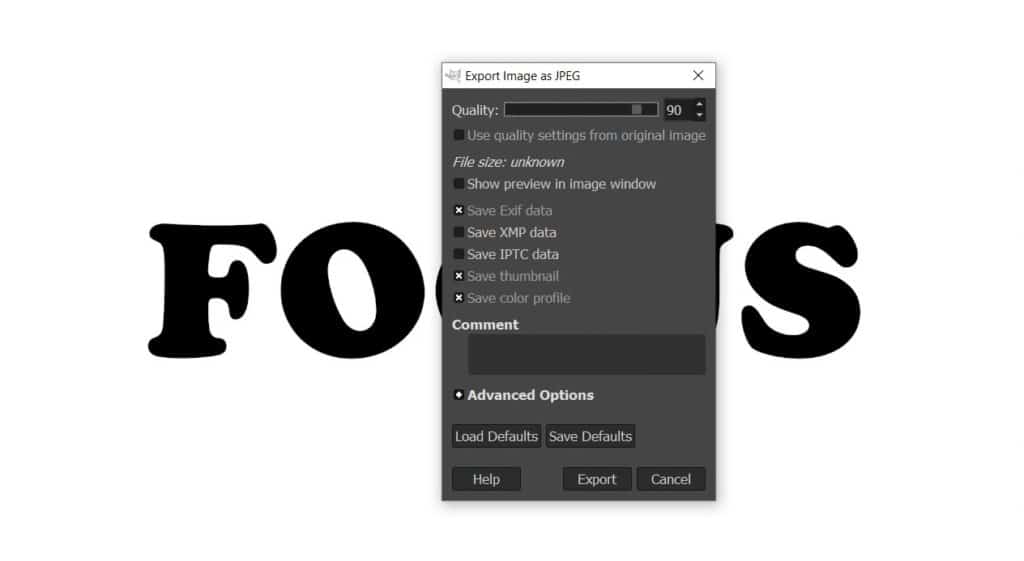
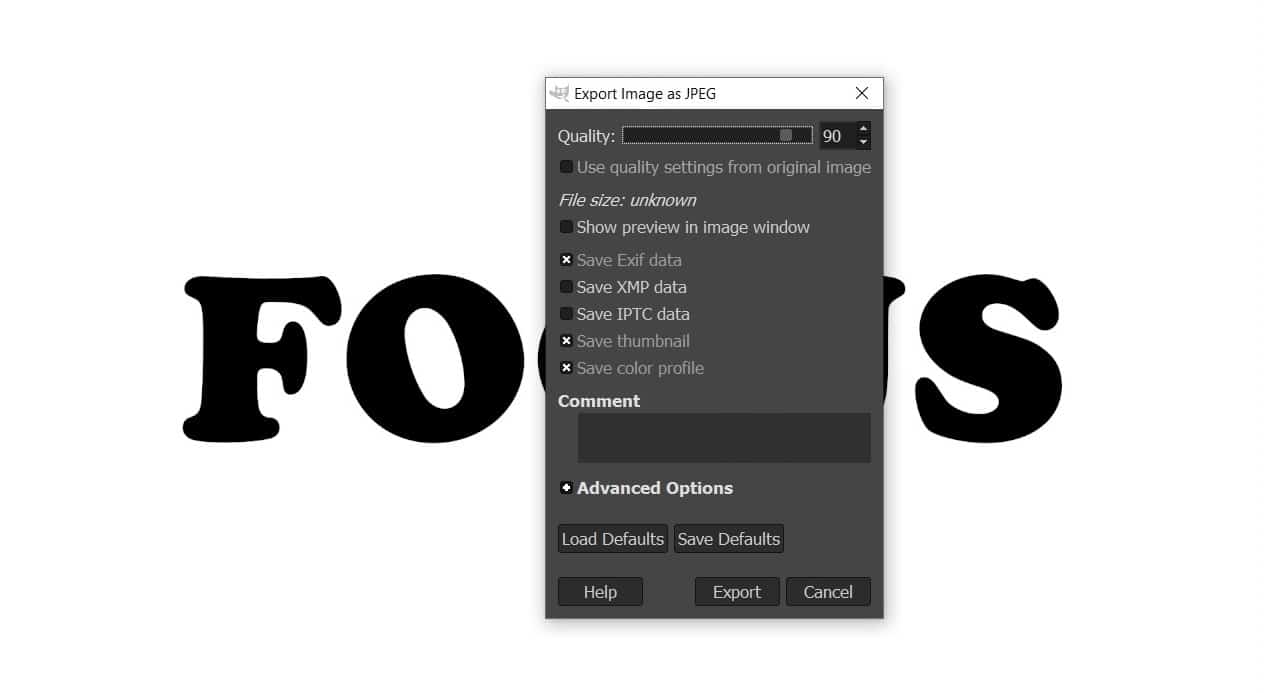
GIMP lets you scale images which shrinks image size. While creating a graphic asset, most software including GIMP let you choose on how much of information you want to store in the image. E.g. while exporting an image as .jpg, you can choose to exclude EXIF data or comments data which further downsize an image.
If you are curious about using GIMP, keep an eye on this video series:
Conclusion
One of the quickest ways to analyse the loading speed of a web-page is via running it through Google’s PageSpeed Insights tool. This will list out everything you can do to increase the page-speed including inputs for image usage.
Images are crucial for digital content and while not everything can be controlled or removed to help a decent page loading speed, optimizing images can help save some time.
TABLE OF CONTENTS FOR DIGITAL MARKETING SERIES
IF YOU LIKE MY WORK, YOU CAN ALSO SUPPORT ME ON PATREON!

